Nextcloud
The new Nextcloud can either be opened in your browser or locally on your PC/Laptop via a client.
If you havent done so already, you need to setup your 2FA here now, since it is necessary for this process.
You can find the corresponding Guide here.
Login
First of all, go to nc.mis.mpg.de to log in.
Use your standard login (selfservice) data from the institute.

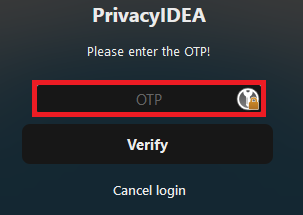
Enter the institute’s 2FA-Token (created in the selfservice portal) to gain access to Nextcloud.
How to obtain the Client
Mac
If you are working on a Macbook issued by the MPI, you can find the Nextcloud-Client software in the Managed Software Center
Important
The Managed Software Center is the institutes way of providing you with a wide selection of otherwise sometimes paid software and apps, that have proven usefull within the institute, without requiring you to login with an apple id. Press Command+Space to open the Search Bar and search for ‘Managed Software Center’ to have a look.
If it is your private device, you can find the Mac Version here
Linux
Check for Updates
sudo apt update
sudo apt upgrade
Install the Nextcloud Client from the Debian repository with
sudo apt install nextcloud-desktop
Important
This does not work on devices issued by the MPI, since the right to install software is restricted to the admin account. Send an E-mail to the EDV-Group or come see us in the office D306.
Windows
Download the Windows installer here
Important
This does not work on devices issued by the MPI, since the right to install software is restricted to the admin account. Send an E-mail to the EDV-Group or come see us in the office D306.
Setup
Open the Nextcloud Client
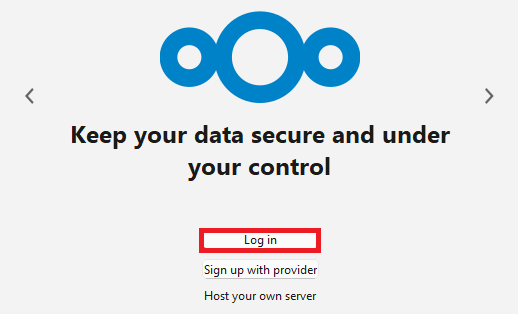
Select ‘Log in’ and enter the address as follows:
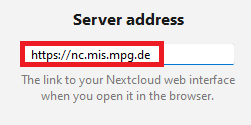
Once you click Connect, a new Browser Window will open and you will be redirected to the Nextcloud Log in-Page
use your institutes Login and corresponding 2FA
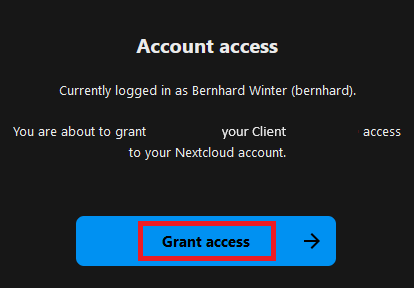
Confirm that you want to connect to your Nextcloud Account
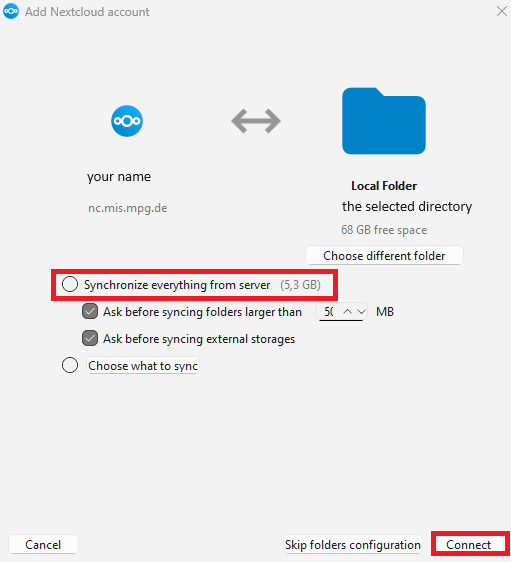
Now go back to the client software and select the preferred directory and what you want to be synchronized:
Sharing of Files
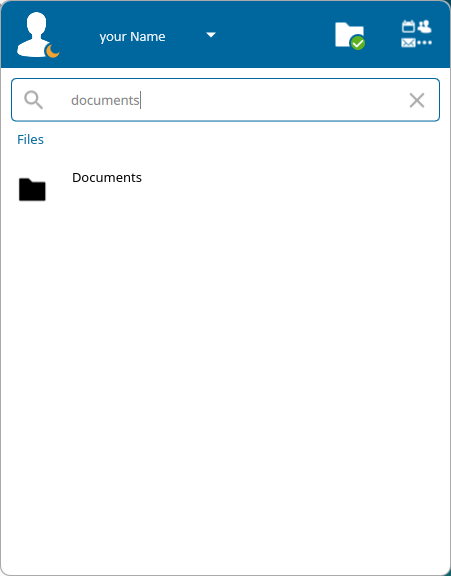
in the Browser
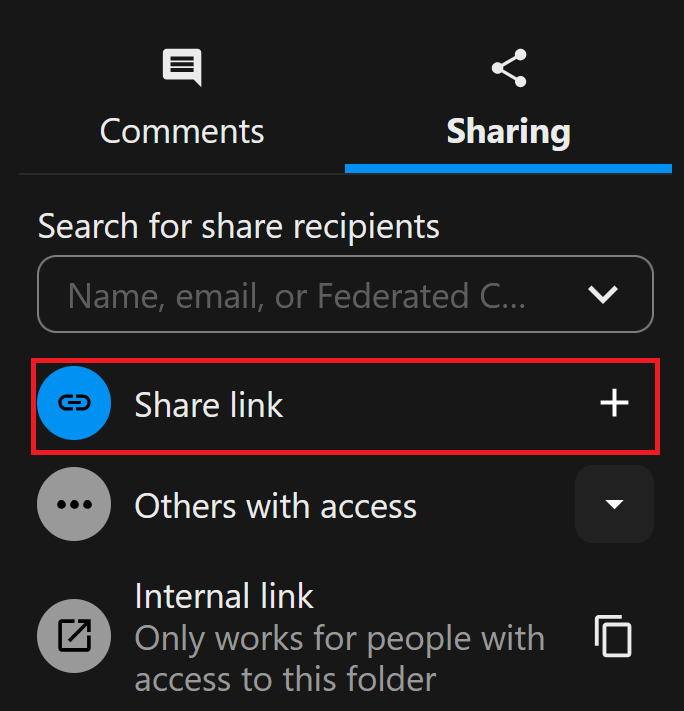
Click the icon to show the sharing options

Now you have several options on how to share your files with others.
You can invite other users with a user account on our nextcloud to give them access to your data.
You can share an internal link that only works for those who already have access to the directory the file is located in.
Or you can create a file share link which you can send via email to the person you want to give access to. This option is very universal, because the recipients do not have to be in any of the two groups mentioned above.
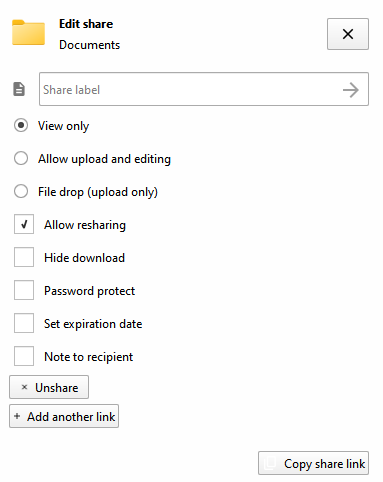
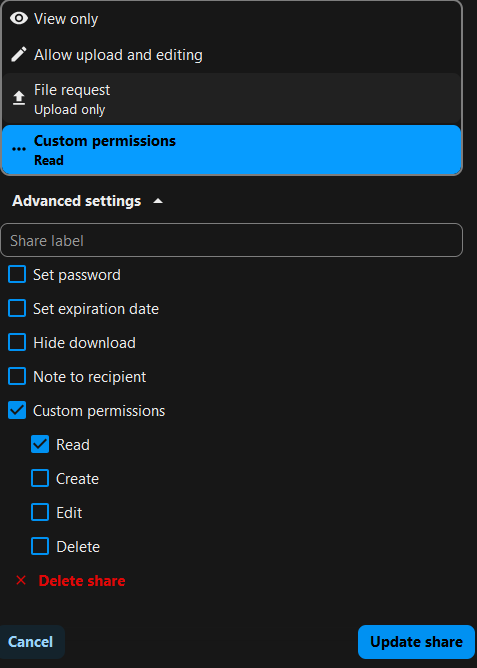
If you chose to share your files via link, you can now customise the type of access you want to
give.

Depending on the options you select you can set a password, give custom permissions or have the link expire on a specific date.
Client
Linux
Select the Nextcloud-icon from the taskbar in the upper right corner

Open the folder you would like to share
Nextcloud will now open another window in your Browser to give you access to the sharing option explained in the Section above
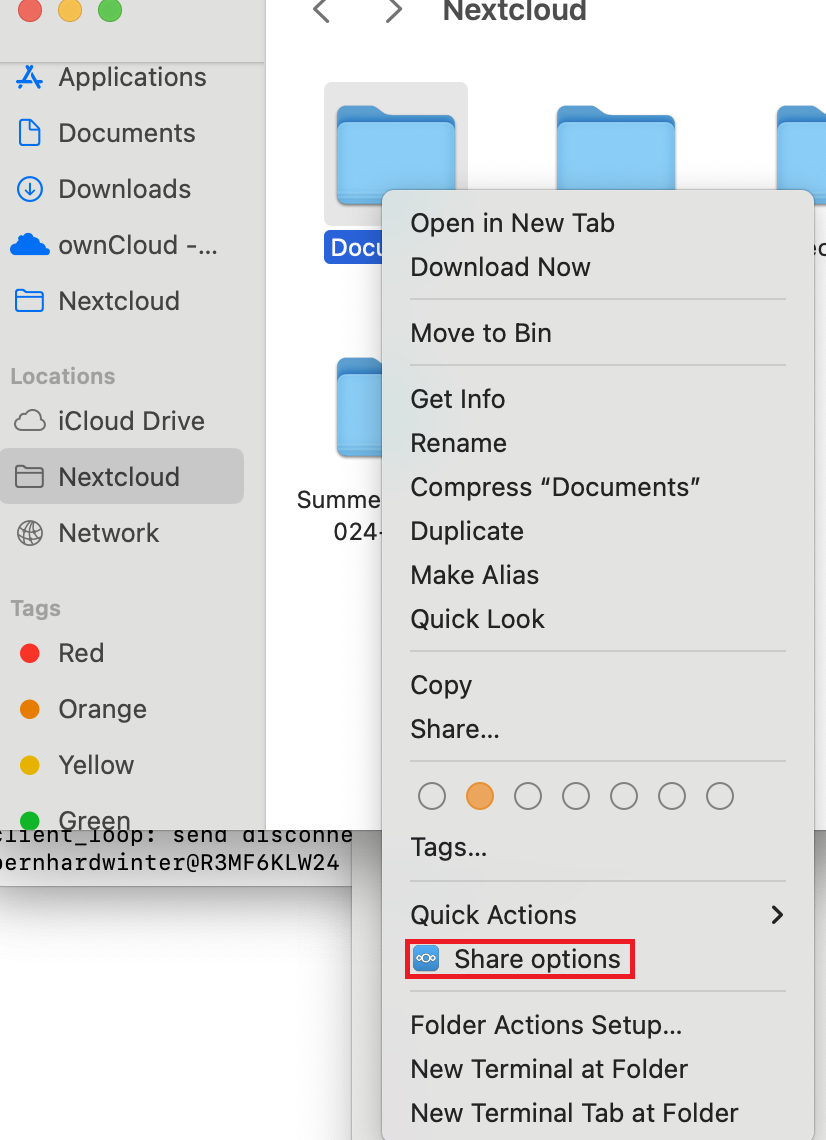
Mac
Make a right click on the folder you want to share and select Share options
Select the public link share and customise the share options
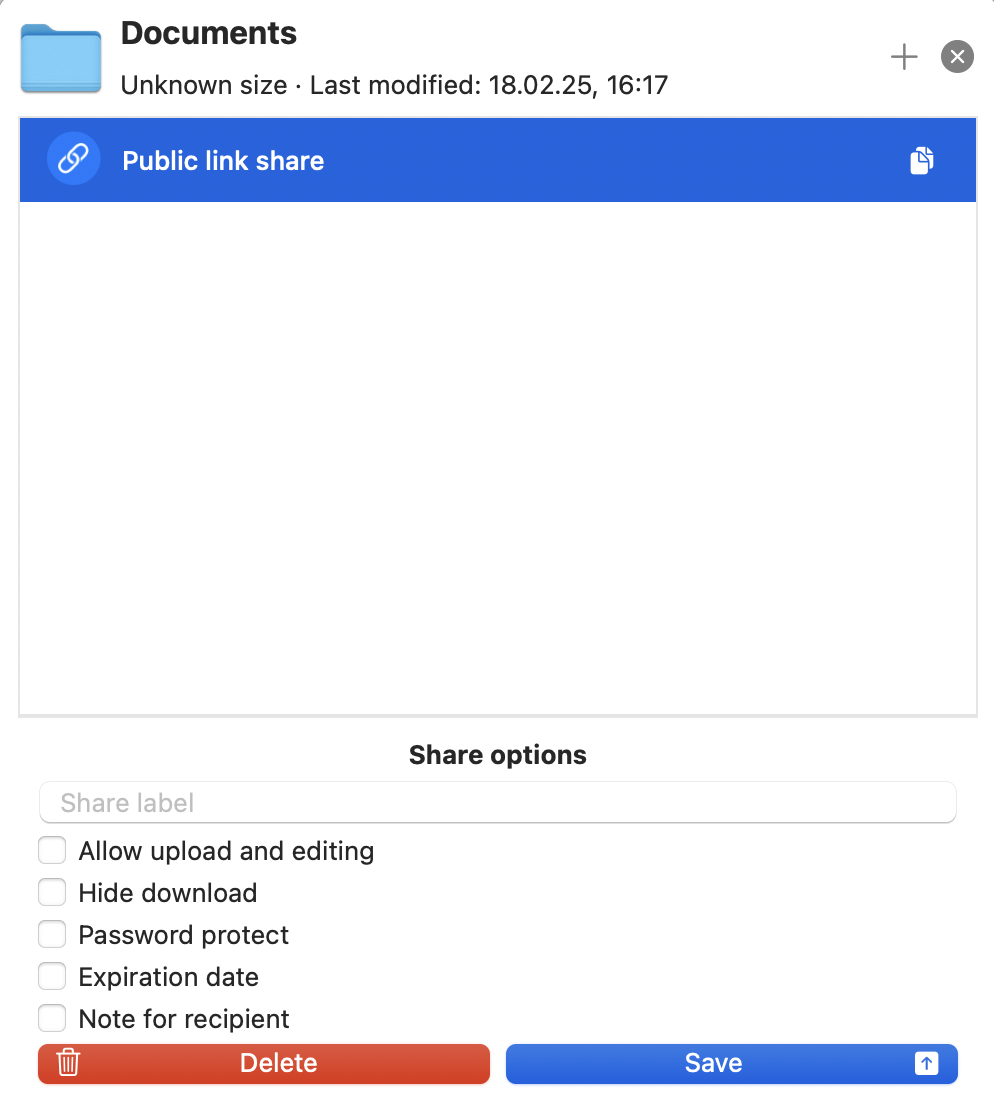
When you are done click Save to confirm your choice
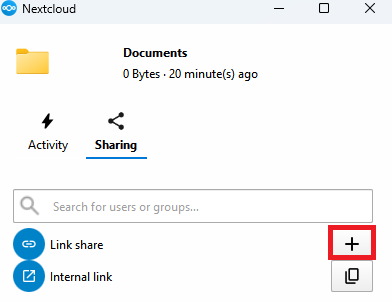
Windows
Hold Shift and select the Directory with right click to see the full context menu. Then select Nextcloud -> Share options

A new WIndow will be opened. Please click on the Plus-icon next to Public Link to activate it
Now click the three dots to customise the link
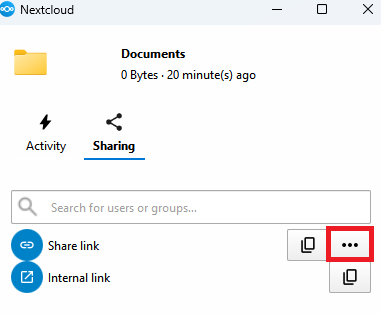
Another window will open to show you the customisation options. When you are done, select copy to share the link